A Look Through the Water’s Surface
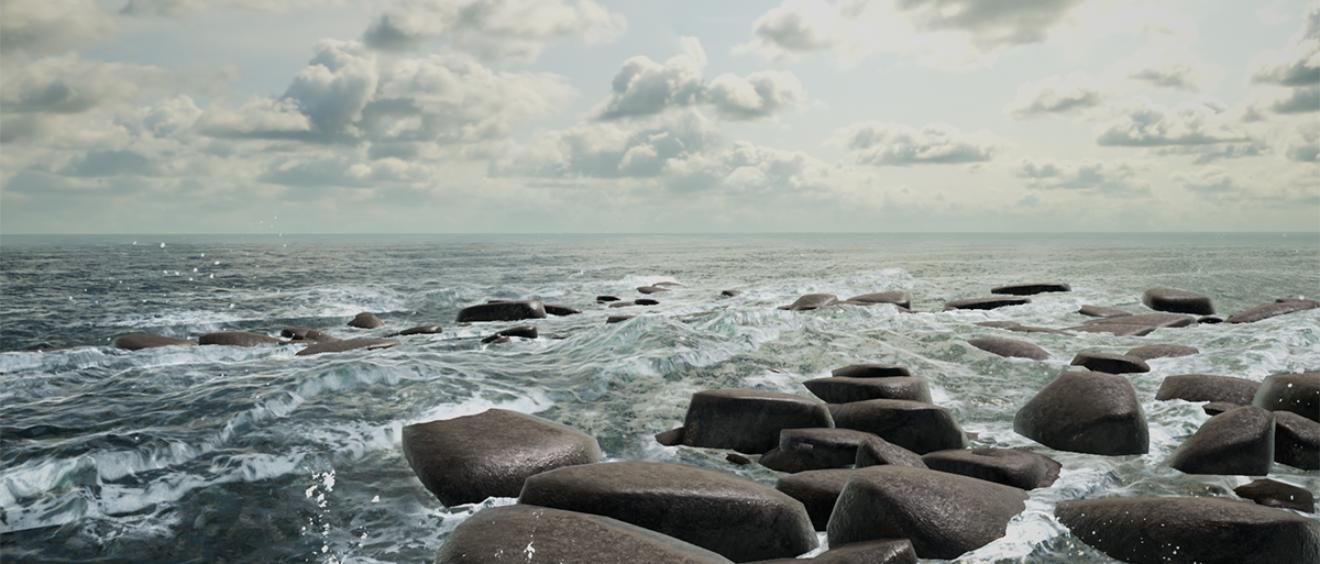
There’ve always been some hurdles to overcome in order to accurately simulate visual elements in computer graphics. Though, it goes without saying that fire and water are among the most difficult to replicate, not only because of their degree of unpredictability regarding fluid dynamics, but also because of the actual physics of light involved depending on which rendering technology comes into play.
It’s with this in mind, and the importance of ocean physics to Abyssal and its simulations of real-life scenarios that made my task as a technical artist a necessary one, to further enhance the ocean system, features, and looks of our software. Let me take you through a few of the steps I took as well as give you some insight into how we got our ocean looking as sleek as it does.
Start with triangles (loads of them)
To simulate the ocean fluidity to the standard we wanted, we need to use a full tessellated mesh. And even though the vertex shader rendering process is expensive, it is still far lighter than a standard high polygon mesh for the GPU due to how the subdivided triangles are generated and subsequently interpolated using a shader tessellation.
And so I opted to create a distinction in the subdivision ratio of tessellated triangles near and far from the camera as a way to further optimize its impact on the GPU.
This way we could greatly reduce the amount of vertex per pixel, allowing for considerably faster rendering.
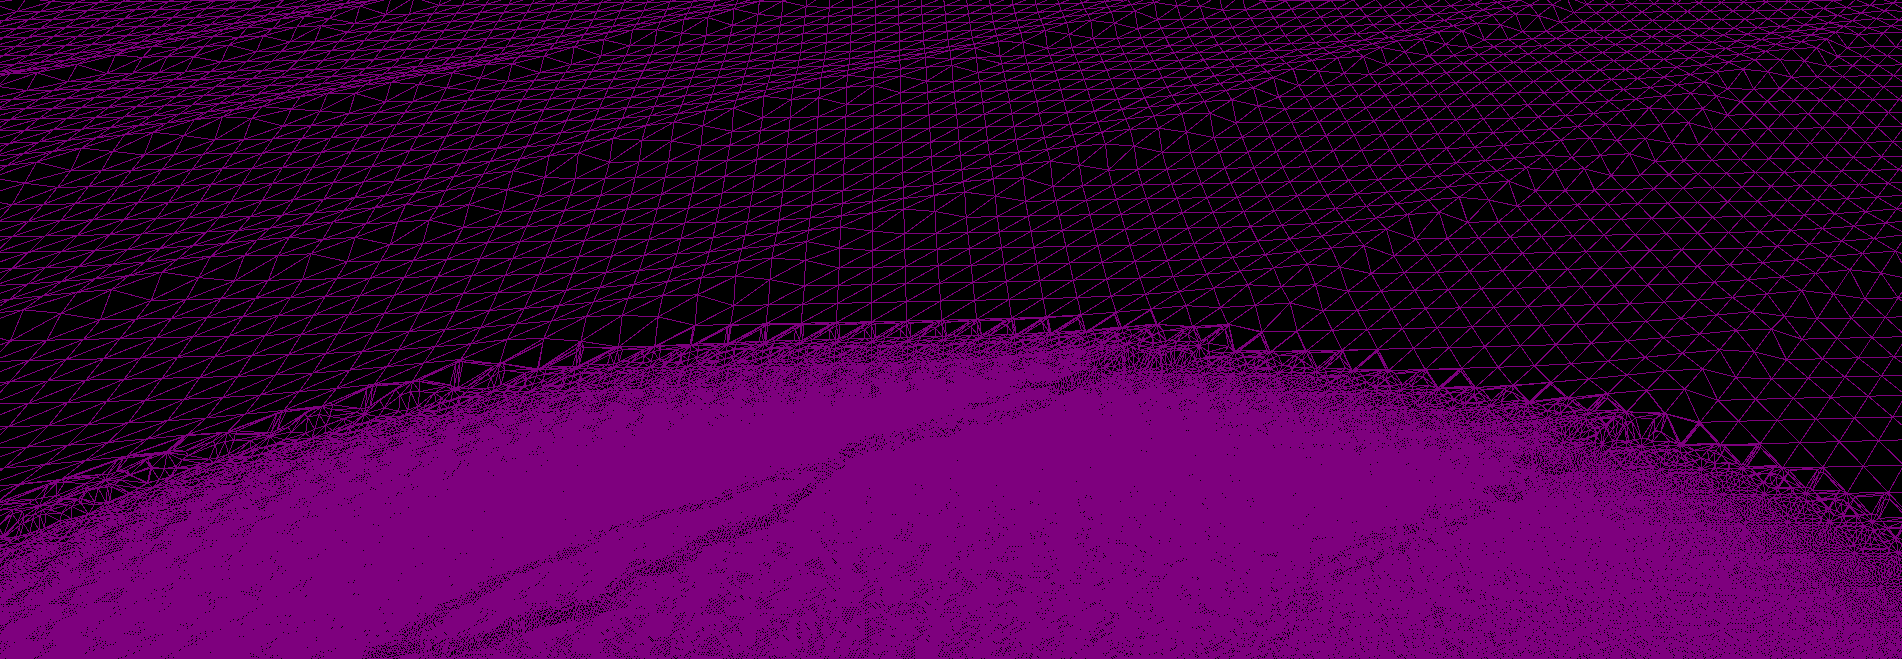
A distance function allows the ocean mesh to tessellate only in regions where the camera is near to its surface.
At this point, we can start adding wave functions to the vertex height information – beginning with gravity waves.
Gravity waves, which are caused by the pressure of gravity, are more or less a simple swaying effect of the tessellated geometry normals that create a background noise for the actual bigger waves that we call Trochoidal waves.

The more Gerstner waves we add, the better the realness.
For the Trochoidal waves we use an approximation to the Gerstner wave formula, which is standard use in computer graphics as it simulates the nonlinear and unpredictable nature of a fluid’s behavior rather well.
Because we can then set up the function variables as we please to alter the Length, Frequency, Amplitude, and Steepness of these waves individually, we are able to greatly customize for any given situation and atmospheric scenario.
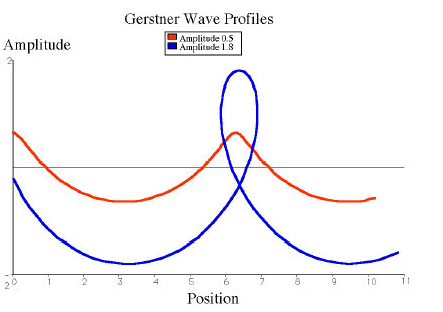
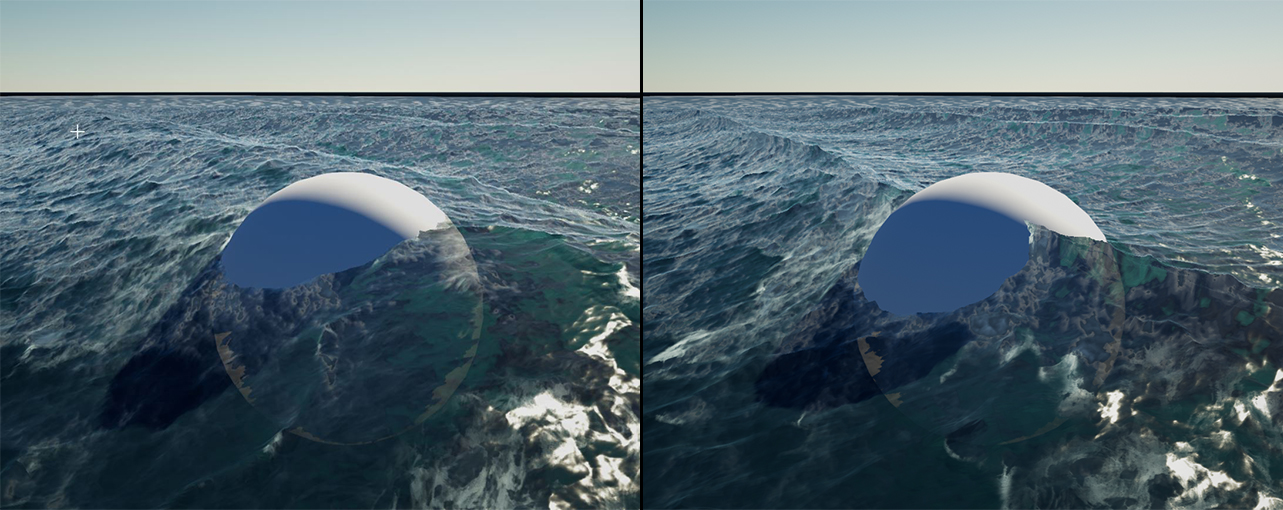
Low Steepness – High Steepness
After managing the height mapping information for the ocean mesh we delve deeper into the shader works and start worrying about the visual challenges of creating realistic water.
Shader or Sorcery?
As I started the visual enhancement task I was immediately taken back by a series of rendering limitations regarding reflections and lighting consistencies and so a number of manual adjustments would have to be made within the shader itself. Though, I’ll get to that later – first let me talk a little about the basics that visually define water – transmission and reflection.
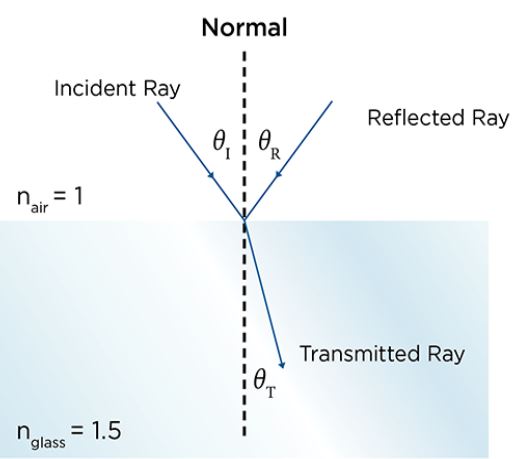
To get that shimmering reflected sky light that we see over every little waveling or surface distortion we need to add a Fresnel effect, as this way the ocean shader is enriched with that ever-important highlight to the shapes that represent the wavelings.

Without Fresnel effect – With Fresnel effect
As for the color of the water itself, it’s always somewhere between dark blue and dark green tints due to how light disperses on the surface – darker close to the camera and a little brighter farther from the camera because of how the Fresnel effect works: light reflects best at a lower angle of incidence on a water surface. And the more the surface reflects light, the less we are able to see through it. That’s why the transmission factor will let us see into shallow water at a closer distance with the obvious Refraction involved.
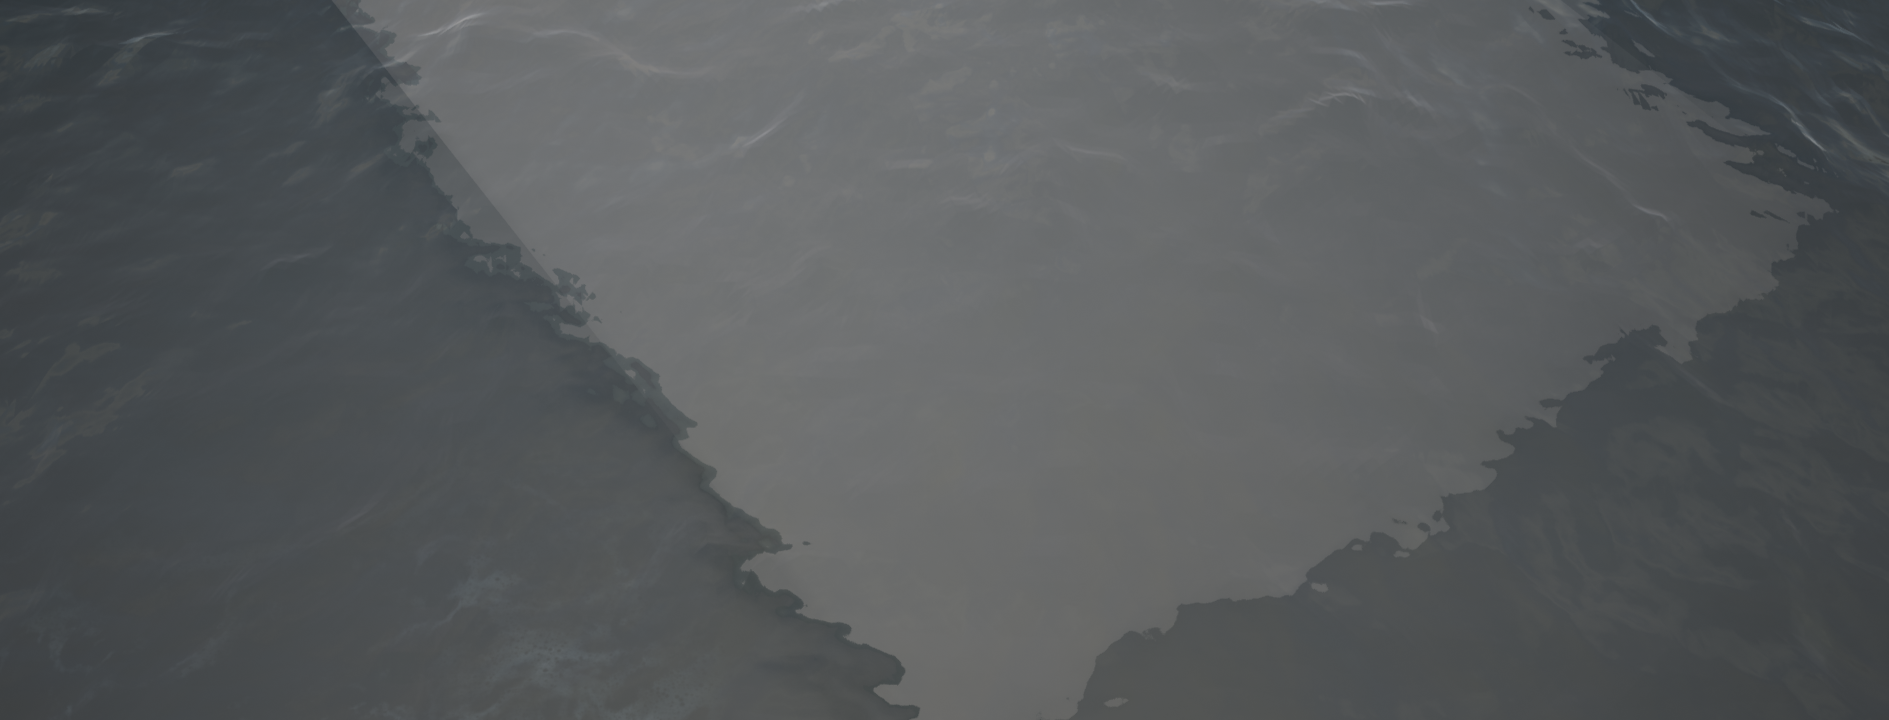
How light refracts below the surface is also the reason why objects in shallow water can be seen as distorted.
For a final lighting detail we need to simulate the diffusion of direct sunlight inside the wavelings of the water when facing the sun. By using a Subsurface Scattering function we can simulate the result of a given directional light by changing its direction and even choose the tint at will.
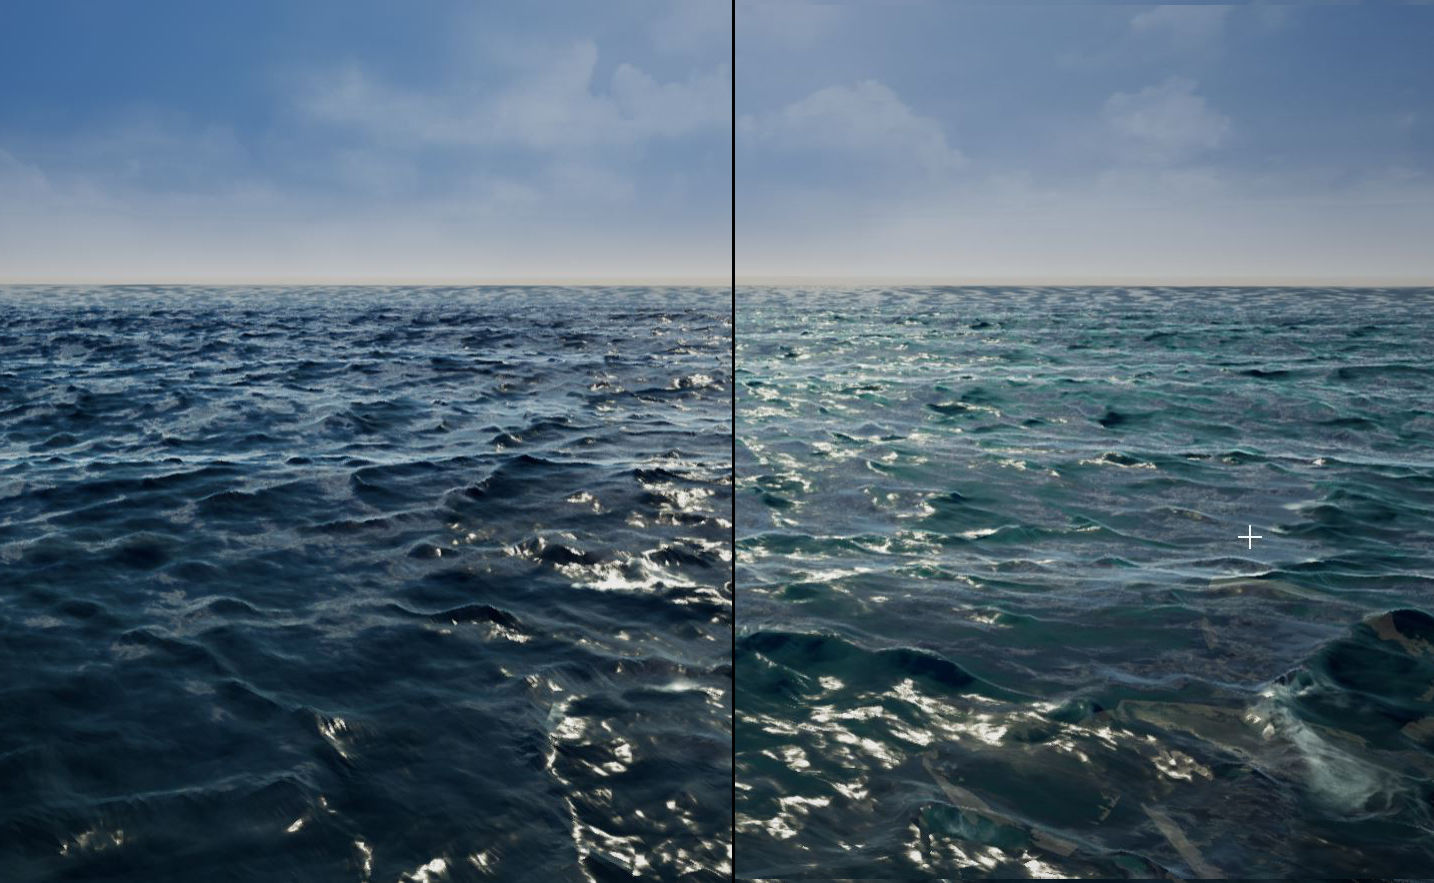
Without sub surface scattering – With sub surface scattering
With these shading features done, we’ve got the desirable overall look for the ocean shader but something is still missing – interaction.
What the foam is that?
Foam is important for interaction and at Abyssal our main goal was to make sure that any object in contact with the ocean would generate it, especially when currents are strong.
To make that possible we used Distance Fields data. How they work is no different than, let’s say, if every object had its own force field, and so we manage to generate foam every time those fields overlap with our ocean surface. Being directional oriented, we can take out only a directional portion of that same overlap field, allowing us to generate foam only in the direction of our ocean current. All the rest is texture work that complies to the flow of the sea currents, distortions, and specular values.
Distance fields are also useful for controlling the vertex height when objects such as rocks or floating objects are in contact with the ocean surface, making it possible to get a field distortion in the water flow like it is supposed to happen in a real scenario.

Distance fields working like a force field for the objects that are in contact with the surface of the ocean.
After the water shader is done, you still need to do a lot of extra polishing and code work, especially if you want to dynamically change its parameters in real-time for given sea or wind currents and any other detail that might be influenced by weather and oceanic conditions.
This is where things get even more technical, as each project will have its own requisites and specifics that demand different approaches to controllers or parametric solutions.
But let’s skip that part and jump into another important feature that definitely requires some more logical hints and tricks: Capillary waves.
Let’s ripple things up
Capillary waves, also commonly known as ripples, are the immediate reaction to the interaction with water. Unlike the contact distortion we made using Distance Fields, these are not easily replicated because of their fluid nature on a water surface. Ripples follow behind any object that moves fast enough to leave a trail and diverge if they collide with other ripples until their energy disperses completely.
To accomplish this, although too complex to be completely accurate, we need to capture in real time all the objects near the camera that are in contact with the ocean surface and turn that mapping into a world position referenced texture that will be converted into specific texture maps which are in turn injected into the water shader.
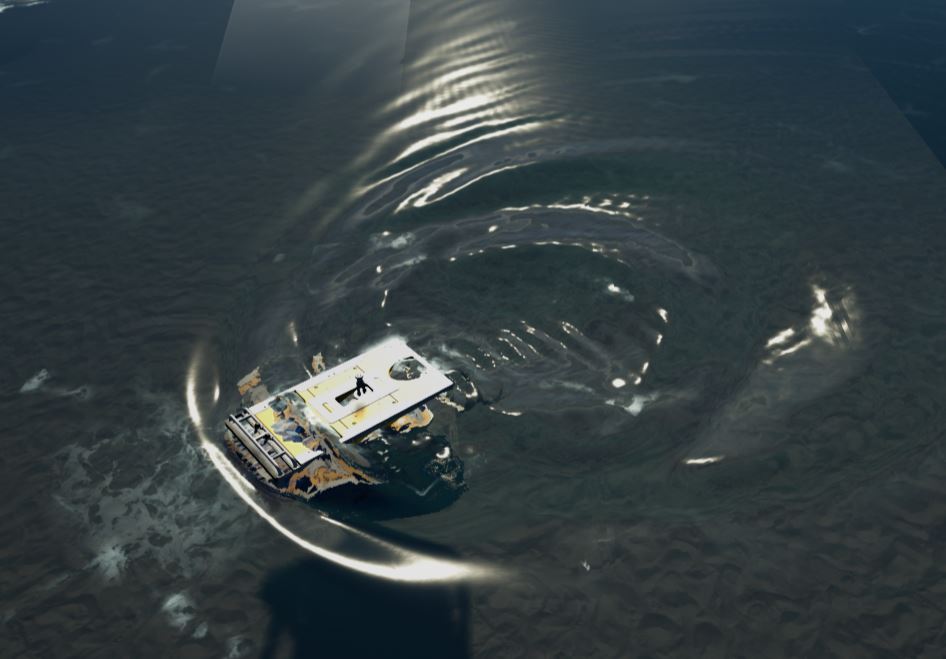
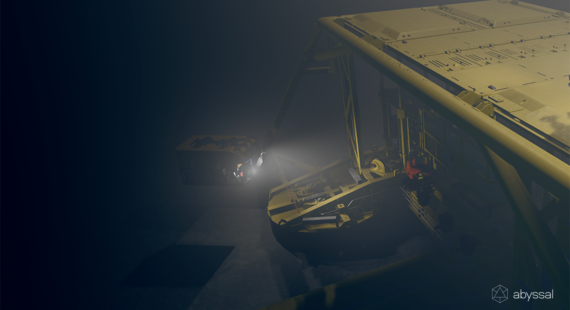
The ROV leaves a trail on the water’s surface as it moves.
Since this operation is constantly running and the engine needs to check which objects are in contact with the surface every instant, this quickly becomes a very heavy process. For this reason there’s a need to optimize some of the logic in a smart way that won’t make running the simulation smoothly a cumbersome problem.
Conclusion
At the end of the day, the ocean is a small but very important component of every project at Abyssal, with its potential not only essential but pivotal.
It’s not about approaching realism but above all else doing it while offering the tools and features needed to unequivocally enhance our clients’ experience and work performance.
As a Technical Artist I firmly believe that there’s always room for improvement, pushing beyond the horizon is but the starting point for a fin-tastic new challenge.


Ricardo Carreiro
Former architect, 3D Generalist, Environment Artist, but above all else an Artist with a keen interest in digital entertainment, researching and understanding the unknown. He is responsible for supporting artists and programmers in pushing new features and technologies into Unreal Engine and Abyssal’s Simulations. He’s contributed to various projects in the videogame industry and also teaches Digital Sculpting and Digital Environment classes.
His current goals are about developing further his skills as a Tech artist and becoming better company to his feline partner.

